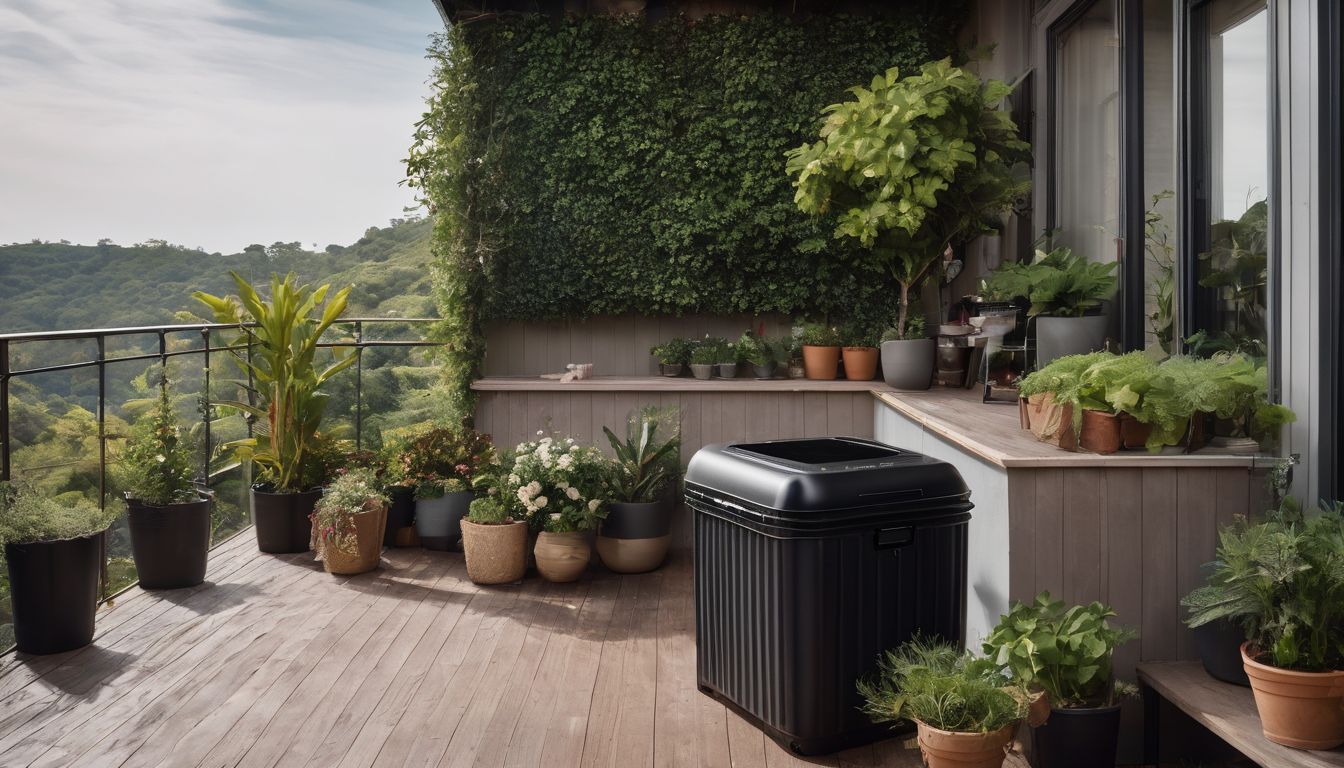
All organic matter will naturally decompose in the presence of plants and its nutrients will be returned to the earth. Composting accelerates the speed at which decomposition occurs. It is the environmentally preferred alternative to landfilling or incinerating organic waste. You can start a compost pile in your backyard or you can opt for worm composting. The resulting compost can then be used to help your garden grow. Once you get your system up and running it is fairly simple to maintain.
BENEFITS for the Environment:
Composting your yard trimmings and food scraps reduces the amount of the county’s landfill waste, which, according to the EPA, accounts for 28% of municipal solid waste in the US.1 Landfill waste takes up valuable land and requires fossil fuel energy to transport and compact. Also, by diverting organic materials from landfills it can prevent the production of methane and leachate, a liquid that can potentially contaminate clean water sources.2
Compost is a natural, and effective way to fertilize crops and helps reduce the need for chemicals which are known to run off into water sources and cause . For areas with contaminated soil compost can be used to help break down wood preservatives, pesticides, chlorinated and nonchlorinated hydrocarbons.3
BENEFITS for Your Garden:
Adding synthetic chemicals to your plants can deteriorate the soil quality in the long-run and kill off the millions of bacteria and fungi that plants depend on. Your food scraps contain nutrients that allow microorganisms to grow, which gives your soil a more natural nutritional balance. Compost also improves the texture and aeration of the soil, and even loosens clay soils enough to improve its fertility. For sandy soils, compost can even help your soil hold more water.
Cost: Low to Moderate
Because you are making it out of your garbage and leftovers, compost is practically free and because it does a great job fertilizing, preventing plant diseases, and retaining water you’ll actually find that its keeping money in your wallet. However, certain types of composting require more equipment than others, but you can often just build a container out of materials you already have. If you have a big enough backyard, you can even put all your materials into a pile, without a container!
Time and effort: Low to Moderate
Composting is almost easy, since you just take what you would have just thrown away and put it in a different pile. However, you also need to lightly maintain your compost to make sure it is composting effectively.
Instructions:
Decide between the kinds of composting that you want.
- Open-air composting will be able to use a lot of different materials, including food scraps, paper materials, and yard trimmings, but it takes a long time to compost.
Worm composting will not be able to use yard scraps but can be used indoors and outdoors all year-round, convenient especially for people who live in apartments.
Tumble composting requires more expensive equipment but will be able to use a lot of different materials and will be quicker than open-air composting.
Each of these composting options is discussed in detail below.
Outdoor composting (open-air or tumble):
Materials:
Wood
Snow
Fence
Wire
Mesh and Wire
Metal Drum
Hammer and Nails
Shovel or Pitchfork
1. Composting itself doesn’t take a lot of work, but careful planning can make the most out of your compost. The best time to start composting is in the spring, especially for very cold climates. Look for a level, well-drained area of soil or lawn that is easily accessible yet private. In colder areas, put your compost container in a sunny spot, and in hotter areas, place it in the shade.
2. Anyone who has a dry, shady space in your backyard that is relatively sheltered from wind and animals can just dump compost in a pile. Otherwise, you can either make or buy a container, depending on its purpose.
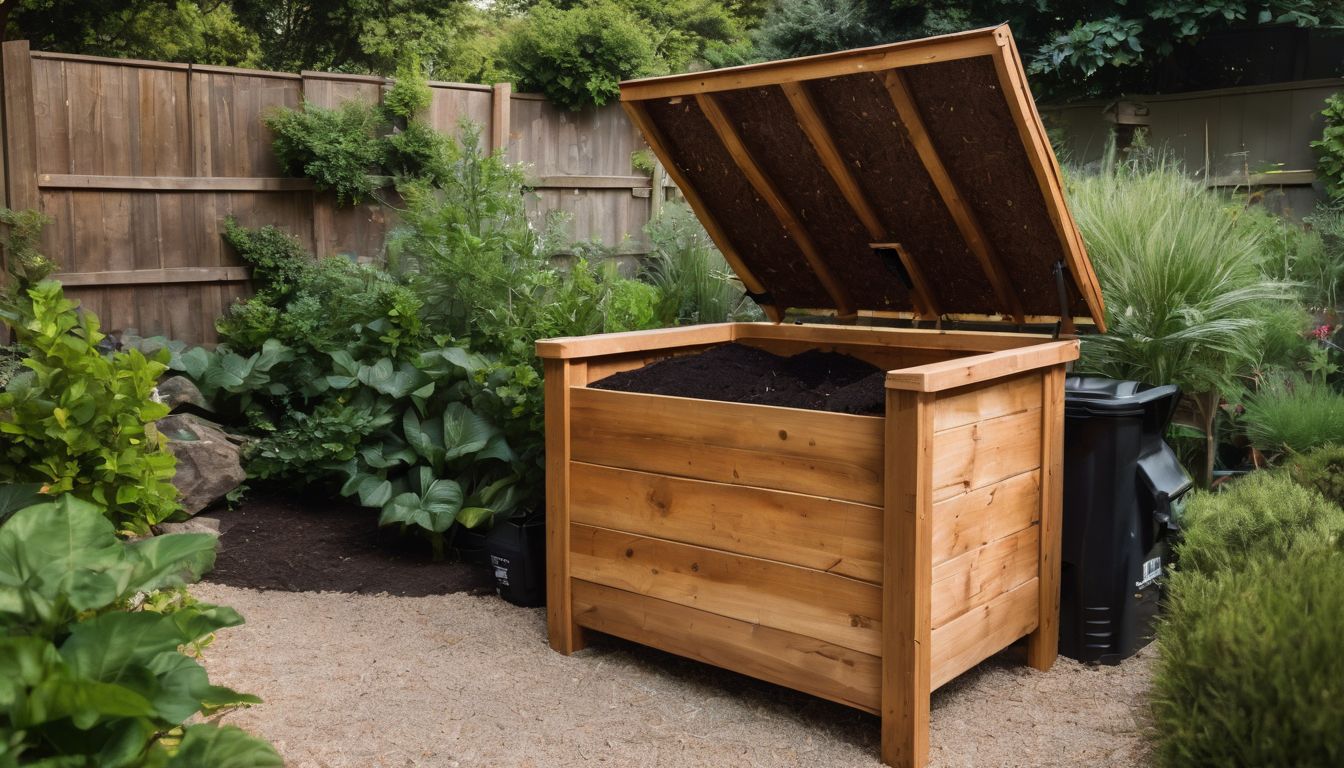
For open-air composting, it’s easiest and cheapest just to build a composting bin, and there are a variety of materials from which you can make one. If you build a wooden box container, make sure you leave slats so the compost has enough air to decompose. If you use a trash can or metal drum, puncture holes all around the side and cut off the bottom of the can. Wire mesh and snow fence can be assembled in a cylinder or cube, respectively. If you don’t like the idea of using a pitchfork or shovel to occasionally turn your compost, however, you can build two compost bins side by side and start letting one mature as the other piles up new materials.
For tumble composting, you either need to make a barrel-like container that closes tightly or you’ll need to buy a pre-made tumbler. In order to make your own container, you’ll need to buy a plastic barrel, drill holes and put a PVC pipe through the middle of the barrel, Then, build a wooden sawhorse to spin the barrel on top of.
3. Start throwing your food scraps, paper materials, and yard trimmings in your yard on your pile or container. For every three parts “brown”, or carbon sources, add one part “green”, or nitrogen sources.5
| Carbon Source (brown) | Nitrogen Source (green) | Do Not Compost |
| cardboard | algae, seaweed, lake moss | ashes |
| oak leaves | human or animal hair | manure from omnivores or carnivores |
| old potting soil | coffee grinds and filters | weeds |
| sawdust and untreated wood shavings | grass clippings | meat, fat, bones |
| straw | manure from herbivores | diseased plants |
| dryer lint | tea bags | dairy products |
| branches and twigs | rotten fruit or vegetables | grease and oils |
| newspaper | hedge trimmings | cat droppings |
| pine needles and cones | green leaves | bread and grains |
| cornstalks | plant stalks |
6
4. As you add materials, be sure they are adequate for composting. Chop up any particularly large pieces. Moisten dry materials. Bury fruit and vegetable waste 10 inches under the surface.
5. Monitor the temperature of the compost. It should be relatively warm, at around 110-160° F. However, be sure not to let the compost get too dry, since this can slow the decay process. The compost should feel slightly moist, but not wet, since that could prevent the compost from getting enough air, also slowing the decay process.
6. Make sure your compost is getting enough air. Turn the compost over occasionally using a garden fork or shovel. Only add finely ground things when adding rough ones along with them. Mix very wet materials with dry materials before adding them. For the tumble composter, only fill the barrel up to 2/3rds to 3/4ths to make sure it has enough room to mix.
7. If you are tumble composting, you can start using your compost anywhere from a matter of weeks to a matter of months, depending on how large the compost pile and how well the moisture is balanced. Composting with immobile containers or piles can be harvested once or twice a year from the bottom or middle of the pile.
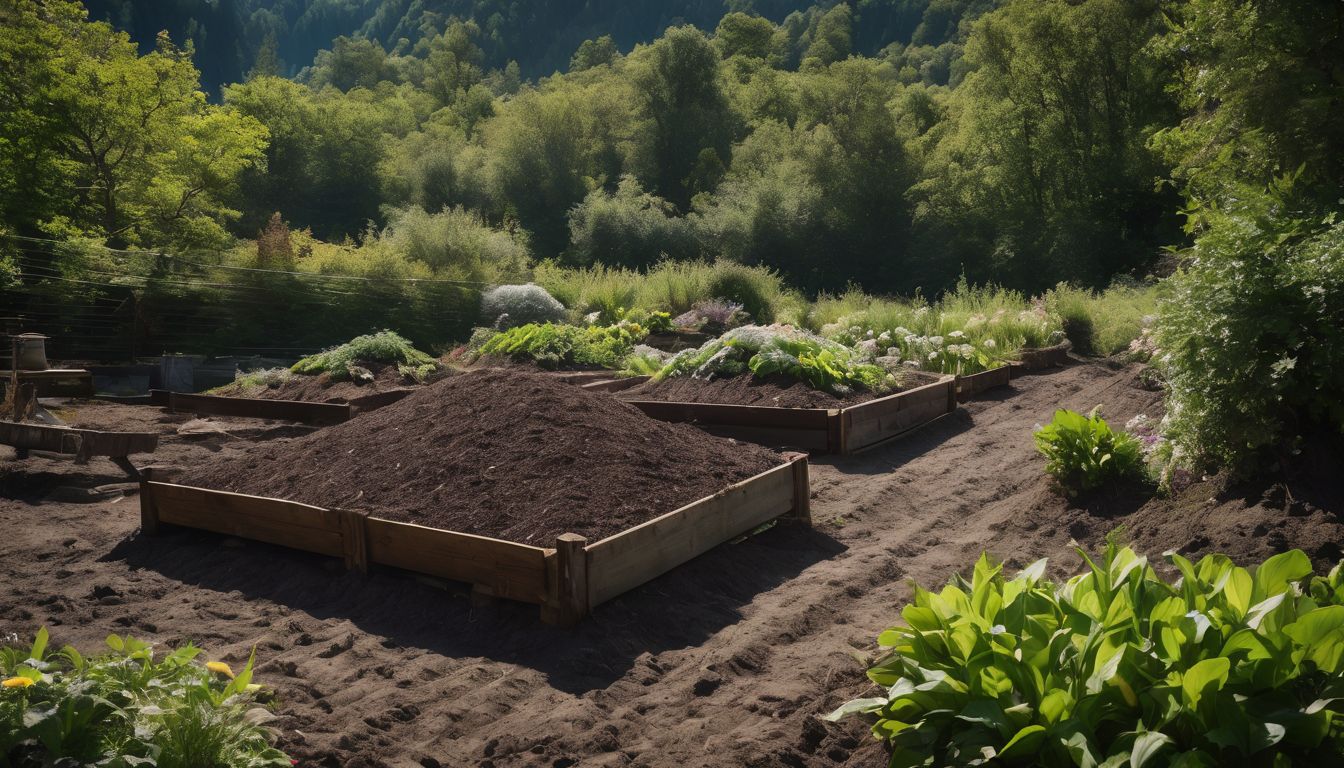
8. You can use the compost as a soil amendment, a potting mixture, a mulch, or as a top-dressing for lawns. It can be used to add nutrients, hold water, control weeds, and aerate your soil. For all gardening purposes, the quality and nutrition of your soil will be greatly improved.
Worm Composting:
Materials:
Rubber Storage Totes
Old Car Tires
Plastic Bin
Washtub
Dish Pan
Used Shipping crate
Newspapers
Cardboard
Peat Moss
1. Decide where you want your new composting bin to be. It can go in a shady location outside, in the kitchen corner, garage, basement, patio, outside back door, or even the laundry room. Just make sure the composting bin will be able to stay within the range of 40-80° F. Although worms and compost sound smelly, there shouldn’t be any odors.
2. You can either buy a container or make one yourself. There are plenty of pre-made worm bins, but one made yourself can be just as good, as long as it has a cover and that you poke quarter-sized holes on the bottom. For a smaller container, try using one of the above containers that are only about 8″-16″ deep, and with around 2 square feet of area per person in your household. To create larger outdoor composts, you can use stack 4 old car tires on top of some newspaper and cardboard. You can place a large, flat wooden board over the top and weigh it down with bricks as a lid.
https://web.archive.org/web/20160403221135if_/http://www.youtube.com/embed/-ui2fyQRlSo 8
3. Add bedding material, which can consist of shredded newspaper, cardboard, or peat moss, which can be more expensive. Moisten the material to the dampness of a wrung-out sponge. Then, fill the bin with bedding and a handful of soil or ground limestone. These will eventually be eaten by the worms.
4. Buy the most commonly used composting worms, which are Eisenia Foetida, or red wigglers. Otherwise, try to find Eisenia Hortensis, or European night crawlers. Look online for the nearest store that sells worms, usually a garden center or worm farm. Purchase about one pound of worms.
5. Feed your worms fruit and vegetable peels, pulverized egg shells, tea bags, stale bread, and coffee grinds. Be sure to cut up the food as much as possible so more worms are able to get into it. As you put your food scraps into the bin, try to vary its location around the bin, burying it underneath the bedding each time. Make sure to water the bin occasionally, since worms, like us, need water to survive.
6. After a couple of weeks, you can start harvesting the brown and crumbly compost. Although you can just dump the compost with worms and all onto your plants, there are methods to keep your worms in the bin. One way is to tilt the worm bin to one side so everything in there goes to that side. Then, add fresh bedding and scraps in the empty side until all of the worms go to the new side, leaving the first side worm-free. Another method is to spread out a plastic sheet on the ground, on a sunny day, and dump the contents of the worm bin on it. As the worms struggle to wriggle to the center of the pile for shade, brush away the compost off the edges of the plastic sheet.
7. You can use your compost soil for mulching, fertilizers, and potting mixes. Add a 1-inch layer all around the plants, but directly at the base of the plant. If you can’t use your compost immediately, it can still be stored for the next gardening season.
8. If you have problems with your compost, you often just need a minor adjustment.
Worms dying: Worms, as living creatures, require a number of things to survive. They may need more food or bedding to eat. Or, they may be too hot, dry, or cold. These can be rectified by adding to the bin or physically relocating it to a more temperate climate.
Bin smells: There are also a couple of reasons that your composting bin smells. If there is not enough air circulation, you should add dry bedding under and over the worms and don’t add any other food for three weeks. Another major cause of odor is if there are meat-based, greasy, or pet feces in the bin, which worms do not compost. Remove these. Or, there may be exposed food that rots before the worms have a chance to get to it. In this case, bury the rotting food further under the bedding or just stop adding food so the worms have a chance to catch up.
Fruit flies: Excess food in the bin causes fruit flies to be attracted. For a while, put less food into the compost bin and bury them further under the bedding. Or, you can cover the lid of the compost bin with a plastic sheet or fabric. Worms crawling out: Worms crawling out of the bin are a sign that the worm bin doesn’t meet their needs. They may either need more moisture or the bedding may be too acidic, in which case, stop adding citric wastes or add garden lime.


