Complaining about being stuck in the office all day? Well, here’s something that you can do to get you outside and reconnect with the outdoor world (yes, it’s still there after all those cubicle hours). Over the last few years many of us have rediscovered our inner desire to not only reconnect with the outdoor world, but reinvest in our bodies as well. Gardening is a great way to relax after work, get your hands a little bit dirty, and eat some deeeeelicious food!
BENEFITS FOR THE ENVIRONMENT:
First, let’s take a hard look at the energy aspect of our food system, thanks to our friends at the USDA.
Surprised? Transportation accounts for the smallest sliver of the pie. But take a look at processing, packaging, and wholesale & retail. Those three slivers account for about half of the energy emissions in our food system—an inherent byproduct of our packaged and processed foods. So the USDA put together a chart highlighting which types of foods consume the most energy.
Recognize anything? It’s an inverted food pyramid! Most of our energy is spent creating processed and packaged foods—the same foods and beverages that are driving up our rates of diabetes and obesity and exponentially increasing our healthcare expenses as a nation.
So are people brainwashing us to eat dead zones.
But forget all of that, it’s really beyond your control. At its heart, gardening is about regaining control of your body and your life. Gardening connects you with the natural ebbs and flows of the seasons, allowing you to appreciate the many wonders of this Earth.
BENEFITS for Your Wallet:
Once you get good at growing your own produce, your garden can really save you some bucks in the wallet. To save money on the initial investment, utilize freecycle.org, your local neighbors, backalleys, etc. to repurpose old materials for your garden.
BENEFITS for Your Health:
Take control of your health with a garden. There isn’t really any way to know what’s in or on the food at the grocery store—possibilities range from e.coli to rat poop to toxic poisons. Not exactly a delicious thought. Gardening allows you to control your produce, so you can eat them with a clear conscience.
Cost: Low
Growing your own vegetables is very inexpensive. All you need are a few seeds, some place to put them, and some water. Not only are you getting delicious vegetables and herbs, but also a garden for your backyard! It will be both aesthetically and appetizingly pleasing!
Time and effort: Moderate
It will take some time to get started in the beginning, but just corral a group of friends to help you install (perhaps bribe them with a few drinks), and then you’re off! Once it gets going, the key is to maintain it regularly for just a few minutes to avoid feeling overwhelmed with a tangled mess.
Instructions for Growing Vegetables in Your Garden
Materials:
- Soil
- Water
- Hoe
- Stakes
- String
- Seeds or seedlings
Location:
Sun is great for plants, and you’re going to want as much of it as possible. If you are lucky enough to have more than one sunny patch, choose a spot that is easily accessible and near a watering source.
Garden Design:
“The classic”- Raised beds, seeds planted in rows.
“The new classic”- Raised beds with borders. Be creative with border selection, what do you have lying around? Cinder blocks? Bricks? Wine bottles? Wood?
“Keyhole”- The birds-eye view of this layout mimics a keyhole. The design maximizes available surface area for planting while still allowing for a path to access your plants. 3
Finally, “the creative approach”- Be creative in your design! Combine an old barrel with string to grow squash upright next to your front door. Or integrate edible plants into your existing garden. Browse around your neighborhood for ideas, the possibilities are endless! If you find yourself without sufficient outdoor space try a greenhouse! Instructions for growing your veggies in planters is also covered further on in this guide.
Whatever design you choose, you will need to pest-proof it. This is most effectively done with a fence. You can either build a fence with fencing materials, or create a structure with scraps (such as pieces of bamboo) and cover that structure with a net. An effective fence must be dug into the ground at least 6 inches deep, if not greater! It also must be at least as high as you to prevent deer from jumping over.
Soil Preparation:
Test the type of soil- is it sandy, clay, or silt? Most plants want a healthy mix of silt and clay, but certain crops prefer sandier soils. Next, test the pH level—most plants prefer the neutral but slightly acidic pH of 6.2-6.8, but certain crops—such as blueberries—prefer a more acidic (under 7) while others—such as asparagus—prefer a more basic (over 7) soil. Finally, amend the soil to meet your plant’s requirements. This can easily be done by adding compost or manure to the soil, or sand if needed.
Don’t, and I repeat don’t, simply buy a bag of “soil” from the store and use that. These bags are almost entirely fluff, and lack any sort of attempt at structure. They lack the crucial clay particles necessary for both the plant’s nutrient needs as well as the soil’s structural stability. If you amend the soil, have a good mix of large clay chunks to provide structure, mixed with the fluffier and siltier potting soil or compost.
Plant Selection:
Buy your vegetable seeds early in the year when there is the best selection. There are many different vegetables to choose from, but there are a few important factors to keep in mind. What seeds grow best in your climate? Are they disease or pest resistant to the diseases and pests common to your area? How long do they take to harvest? Most importantly, which vegetables sound appealing to you? Some easy ones are tomatoes, beans, peas, broccoli, capsicums, lettuce, carrots, and zucchini. Avoid certain combinations which inhibit each other: Potatoes with tomatoes or squash, beans and onions, broccoli and tomatoes, carrots and dill. Here are some websites to help you:
Choosing vegetable seeds and learning how to plant them: Cornell Vegetable Growing Guides
More specifics on how to plant the seeds: Garden Helper
You don’t want only edible plants. A healthy mix of companion plants is essential for beauty, pollination, and pest control. Learn more here.
Plant layout:
Because plants prefer differing levels of sunlight, you can strategically plan your planting to ensure that sun-loving plants get their sun, while providing shade to others. A perfect example of this is to plant your tomatoes on the south or west side of your row, with your peppers lined up next to them in the shade.
Planting:
Water the soil thoroughly the day before planting the seeds. Plant more seeds than you intend to grow, since you can always thin them out later. To make sure they are planted evenly, you can mix the seeds with sand and use a shaker. Follow the directions for the seeds, usually printed on the packet. For climbing plants like peas and beans, add trellises or stakes. If you don’t have a hill for vine crops, create mounds on your level ground. Label the plants with tags or markers so you can differentiate between them as they grow. If you are planting in rows, put stakes at each end and tie a string between them and use this as a marker to dig a v-shaped furrow with a hoe. Put the seeds in, cover them with soil, and water again. Mulching between the rows is also good for the soil and allows a pathway for you to walk on. Be sure to plant perennial vegetables such as asparagus, rhubarb, and artichoke away from the rest of the seasonal vegetables, so you can rotate the seasonal crops later.
Maintenance:
Water your seeds daily. If this is too much to do by hand, buy a soaker hose and turn it on every day. When you can see the seeds first germinate, if there are too many seedlings competing for sun and soil, thinning out some seedlings will benefit the rest. For pest control, look into the use of companion. If you want to use pesticides, pick out non-toxic or low-toxicity ones so your vegetables are safe to eat. Companion plants are flowers or plants that attract the predators of whatever pests are bugging your vegetables. A list of common pests and the companion plants you should use is Table B on Grinning Planet.
Harvest:
It is important to eat what you sow! Certain crops, especially the leafy greens, depend upon constant harvest so they don’t flower. Enjoy!
Long term plan:
After harvesting your vegetables, compost the leftover plant matter so that you can reuse it next year. Perennial vegetables will last all year, so maintain the soil by fertilizing it every fall. Otherwise, for your seasonal vegetables, rotate the crops by types so they are in a different position every year. Every few years, let the soil lay fallow, letting it rebuild and replace nutrients.
Instructions for Growing Vegetables in Containers:
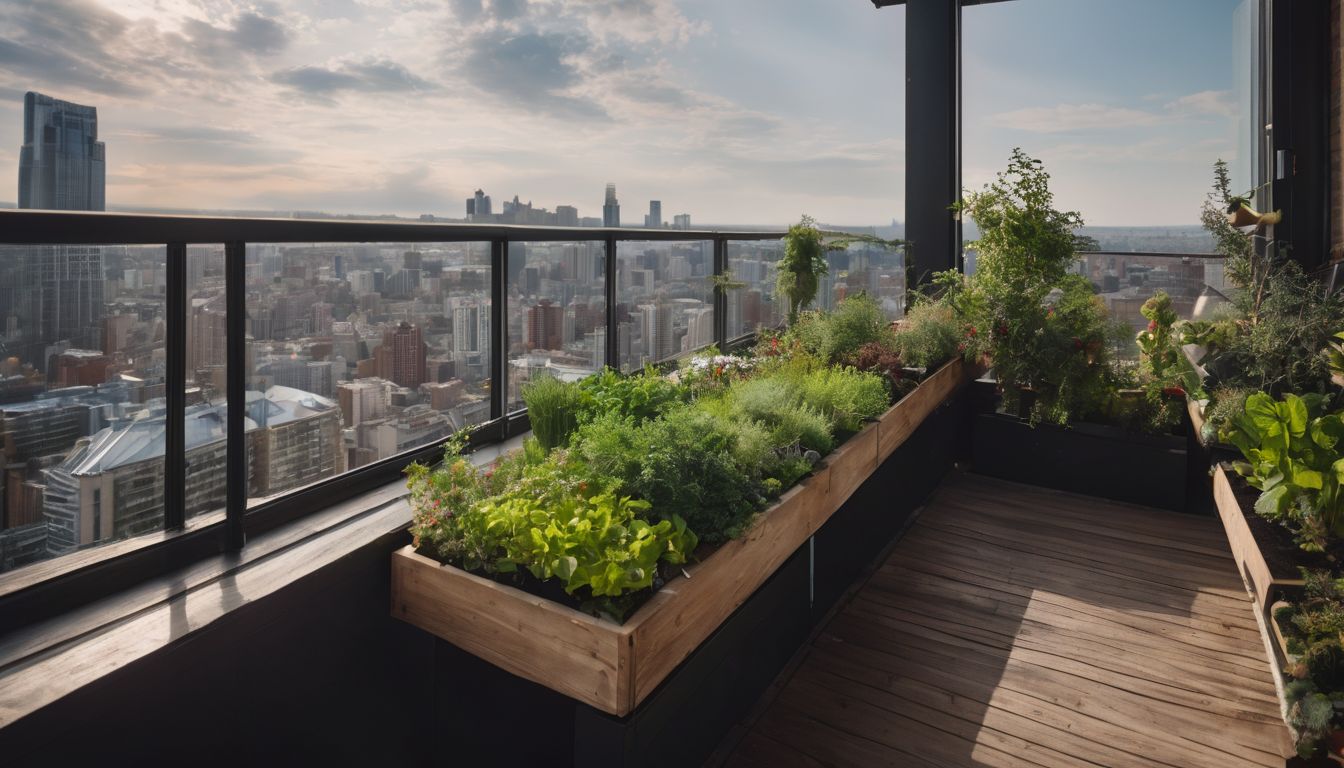
If you have an apartment or if there just isn’t a lot of space in your backyard, you can grow your vegetables in pots. Also, if you want fresh vegetables in the long winter, you can grow some vegetables inside in addition to the ones you have outdoors.
Materials:
- Container
- Pot or Tray
- Plastic Wrap
- Seeds
- Soil
- Wheelbarrow
- Water
Container Selection:
Scrounge around your basement, yard, neighborhood, local flea market to find some leftover containers such as old planters, paint buckets, etc. They should be at least 6”-12″ deep to leave enough room for the roots. Make sure there are drainage holes, which you can make on your own with a nail and a hammer. For growing outdoors, you can put the containers anywhere that gets sun and is convenient to access. For growing indoors, put them in front of a south-facing sunny window, on window sills, tables, or shelves. Make sure these spots get at least 6 hours of direct sunlight each day.
Soil Prep:
First, place some gravel or pebbles in the bottom of the pot. This creates space for the water to drain—otherwise the soil will clog the drainage holes. The same soil principles described earlier in this guide for gardens, apply here. Depending on whether the plants will be inside or outside, you may want to have a cleaner mix. Regardless, you still will want to ensure the soil has structure.
Seed Selection:
Most edible plants greatly prefer to be planted outside. So if you must keep your pots indoors, then be very careful about which seeds you choose. Herbs are great candidates for pots because you can move them inside during the cooler months, allowing them to last year round. Tomatoes, peppers, and basil are also great for pots because they have good structure.
Planting:
Many seeds are best grown in a small pot, then transplanted over to the permanent pot. If so, fill a small baking pan, tray, or pot with your potting soil mix and place the seeds ¼” or ½” under the surface. Cover with a clear plastic wrap and leave it in a sunny spot for 4-8 weeks or until they develop 2-3 leaves. Then, the day before you intend to transplant them, use a knife to cut the soil into blocks, taking great care to cut entirely around the roots. Then, place them in a container full of soil mix and water the blocks thoroughly. For seeds that can be grown directly, fill the container with soil mix and plant them according to the directions on the packet.
Maintenance:
Container plants mean you need to worry about weeding less, but you may need to water them more, about every day or every other day, since the pots don’t hold moisture as well. Marjoram, oregano, sage, bay, and thyme should be left alone to dry out between each watering. Lemon balm, mint, and scented geraniums need to stay moist. For most other herbs, just water them when the soil starts to dry out. You can mix fertilizers, such as worm tea, right into the water with which you water the plants. If not, add fertilizer every two weeks.
Trouble-shooting
If you’ve followed all the directions and your plants still aren’t growing well, the physical features of the plant may provide some clues:
- Tall and spindly plants
- Diagnosis: too little sunlight or too much nitrogen.
- Solution: Move the plant to a sunnier place or feed it less often.
- Discoloration and yellowing from the bottom
- Diagnosis: over-watering or low nutrients.
- Solution: If you’re giving the plant enough water but it still wilts, add holes to the bottom of the container and use mixes with more organic matter to increase aeration.
- Burnt looking leaves
- Diagnosis: high salt concentrations.
- Solution: Leach the container with water regularly.
- Stunted, purplish plants
- Diagnosis: too cold or need more phosphate.
- Solution: Move the container to a warmer area or add phosphate level to the solution.
- The leaves are distorted and have holes
- Diagnosis: you probably have insects.
- Solution: Look into companion plants, try to pick out the insects, or use non-toxic pesticides.
- Spots, dead, or powdery areas
- Diagnosis: likely diseased
- Solution: Remove the infected areas and add fungicide.
Good luck planting and enjoying the “fruits” of your labor and love ☺


