Watering your garden can be a real chore, especially during hot summers. A tailored irrigation system can save up to 70% of the water you’d usually use with a hose or watering can.
This blog post will guide you through setting up your own efficient DIY garden irrigation system, step by simple step. Let’s get started and give your plants the drink they need!
Key Takeaways
- Installing a DIY irrigation system conserves water by targeting the plant roots directly, reducing runoff and evaporation.
- Essential components for building a garden irrigation system include a garden hose, hose connectors, drippers, stakes, sand, a plastic bottle for homemade drippers, lighter and pin.
- Careful planning of the layout and consideration of soil type are crucial steps before digging trenches and laying out hoses to ensure efficient water distribution.
- Regular maintenance of your DIY irrigation system is key; check for leaks or clogs and adjust watering schedules according to weather changes to keep plants healthy.
- Enhance your garden’s sustainability by integrating eco – friendly practices such as using organic fertilisers, companion planting, mulching to retain moisture, and setting up rainwater harvesting systems.
When to Install a DIY Garden Irrigation System
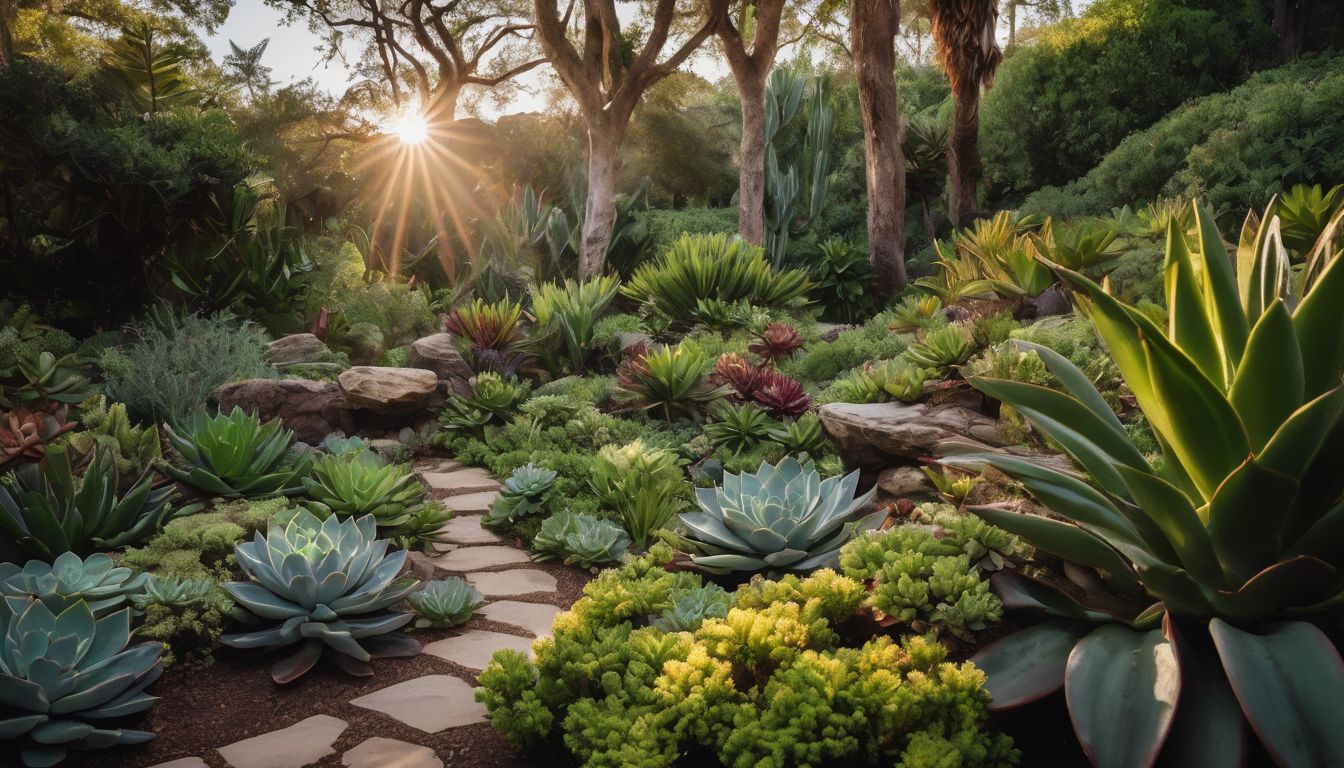
Installing a DIY garden irrigation system is beneficial when you want to save time and energy on manual watering. Consideration should be given to the size of the garden, the type of plants, and the frequency of watering needed before installation.
Benefits of an irrigation system
An irrigation system can transform the way you water your garden, leading to lush and healthy plants. Saving time is one of the key advantages; a well-designed setup means you no longer need to spend hours with a hose or watering can.
Your plants get a consistent supply of water exactly when they need it, without any effort on your part.
Using an automatic watering system also conserves precious resources. It minimises water waste by delivering the right amount directly to plant roots where it’s needed most. Moreover, drip irrigation methods prevent runoff and reduce evaporation compared to traditional sprinklers, ensuring every drop supports plant growth effectively.
This efficiency not only nurtures your garden but aligns perfectly with environmental conservation efforts.
Considerations before installation
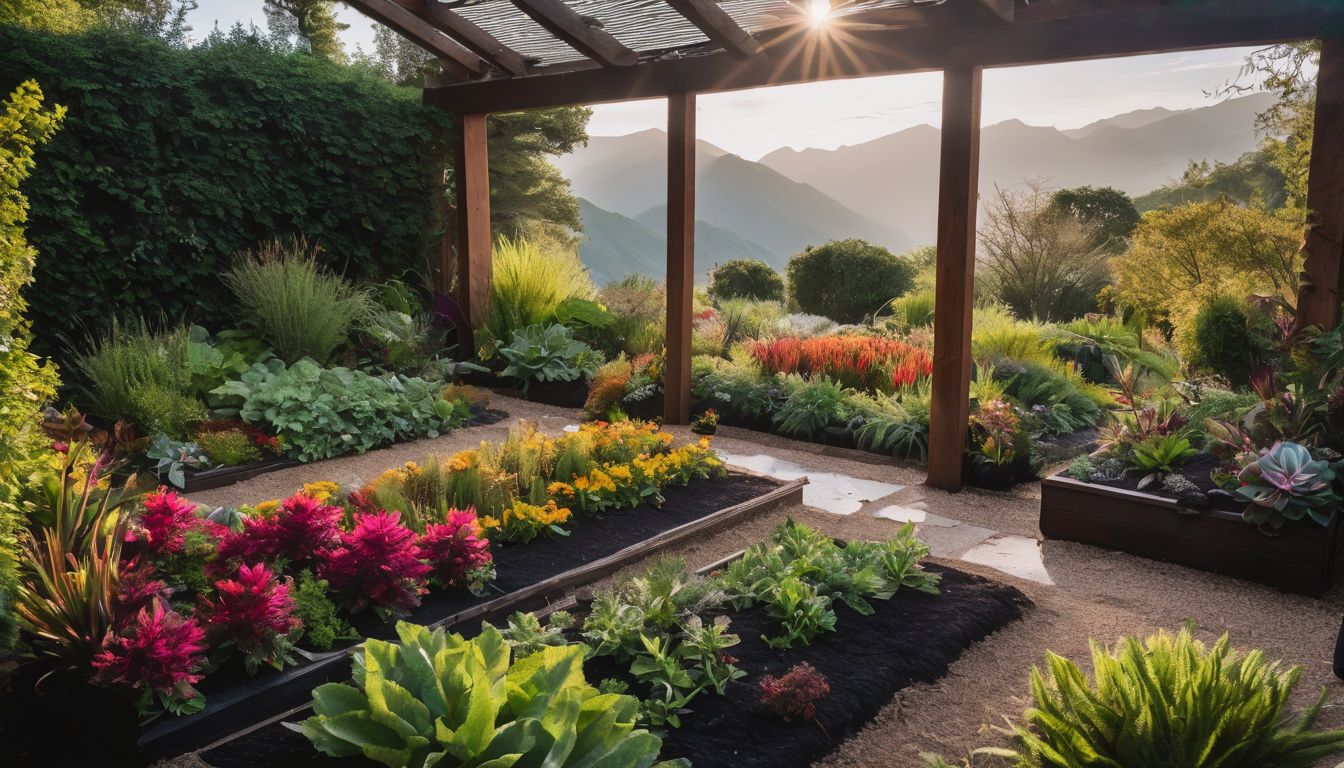
Before installation, it’s essential to assess your garden layout and water sources. Evaluate the size of your garden and identify any specific watering needs for different areas. Consider factors like soil type, sun exposure, and plant types when planning the irrigation system layout.
Moreover, take into account the availability of water sources – whether you will be using a main water supply or collecting rainwater. These considerations will help you determine the best placement for hoses and drippers to ensure efficient watering.
Once you have evaluated your garden’s needs, it’s important to factor in environmental impact. Are there eco-friendly materials that can be used? Consider options such as recycled materials for drip irrigation systems or implementing a rainwater harvesting system where possible.
Materials and Equipment Needed
To build a DIY garden irrigation system, you will need basic materials such as a garden hose, hose connector, drippers, stakes, sand, plastic bottle, lighter and pin. These items are essential for setting up an effective watering system for your garden.
Garden hose
You’ll need a durable and long garden hose to connect your irrigation system. Look for one that is kink-resistant and can withstand harsh weather conditions, as this will ensure longevity.
To conserve water and reduce waste, consider investing in a hose with adjustable flow control features. Additionally, it’s crucial to choose a hose length that matches the layout of your garden for efficient watering distribution.
Additionally, using a high-quality hose connector is crucial to prevent leaks and maintain consistent water pressure throughout the irrigation system. Ensure the connector fits securely with the garden hose and other components to minimise water wastage while maximising efficiency.
Hose connector
A hose connector is a vital component for your DIY garden irrigation system. It allows you to connect multiple hoses, creating a network that reaches every corner of your garden. When choosing a hose connector, ensure it is durable and leak-proof to prevent water wastage.
Additionally, opt for connectors with quick-release features for easy maintenance and adjustments.
Once connected, the hose connector serves as the bridge between your main water supply and the drippers or sprinklers in your garden. By using high-quality connectors, you can effectively control the flow of water and prevent any potential leaks or disruptions in your irrigation system’s functionality.
Drippers
To ensure even water distribution in your DIY garden irrigation system, drippers are essential. These small devices deliver water directly to the root zone of plants, minimising waste and promoting efficient watering.
By using drippers, you can control the amount of water each plant receives, helping to conserve this precious resource.
Installing drippers offers a targeted approach to watering your garden, ensuring that no water is wasted on paths or non-plant areas. This not only saves time and energy but also supports environmental conservation efforts by reducing unnecessary water usage.
Stakes
Use sturdy stakes to support the garden hose and keep it in place. Insert them securely into the ground to ensure stability, especially if you live in an area with strong winds or heavy rainfall.
Stakes are essential for maintaining the proper positioning of the irrigation system, preventing damage and ensuring efficient water distribution throughout your garden.
To anchor the drippers firmly in place, attach them to the stakes using plastic bottle caps or another secure method. This will help maintain accurate watering patterns, prevent tangling, and ensure that each plant receives just the right amount of water.
Sand
Place a layer of sand in the trenches to help with water distribution. Ensure the sand is evenly spread out across the bottom of the trench. This will prevent clogging and provide an even flow for your irrigation system.
Plastic bottle
Once the sand is in place, repurpose a plastic bottle for use as a DIY dripper. With a lighter, carefully heat and pierce small holes on the bottom of the plastic bottle using a pin to regulate water flow.
Attach this homemade dripper to your garden hose for an efficient and cost-effective irrigation solution.
Lighter
To secure the hose connector, heat a pin with a lighter and make a small hole in the plastic bottle‘s cap. Insert the heated end of the pin into the bottle cap to create a hole. Connect this modified bottle to one end of your garden hose using tape.
The punctured holes at the bottom of the bottle will release water slowly, ensuring even distribution across your garden beds and plants.
Pin
Use a pin to puncture small holes in the plastic bottle. This will allow water to drip out slowly and evenly onto your garden beds. Once done, attach the bottle with the pinholes to the end of each hose using tape or a connector.
Ensure that the pinholes are not too large; otherwise, water may gush out rather than dripping. The purpose of this setup is for controlled watering, so it’s important to regulate the flow through these small punctures effectively.
Tape
Use a strong and durable tape to secure the hose connectors and drippers in place. This will prevent any leaks and ensure that your garden irrigation system functions smoothly. Additionally, wrap tape around the plastic bottle used for homemade drippers, securing it tightly to avoid any water wastage or uneven distribution.
By using tape effectively in your DIY garden irrigation system, you can maintain a sustainable and efficient watering method for your plants while minimising water usage.
Steps to Build a DIY Garden Irrigation System
After drawing the layout of your garden and determining the soil type, dig trenches to lay the hoses. Add sand for better water distribution and connect garden hose with drippers before adding stakes for support.
Draw layout of garden
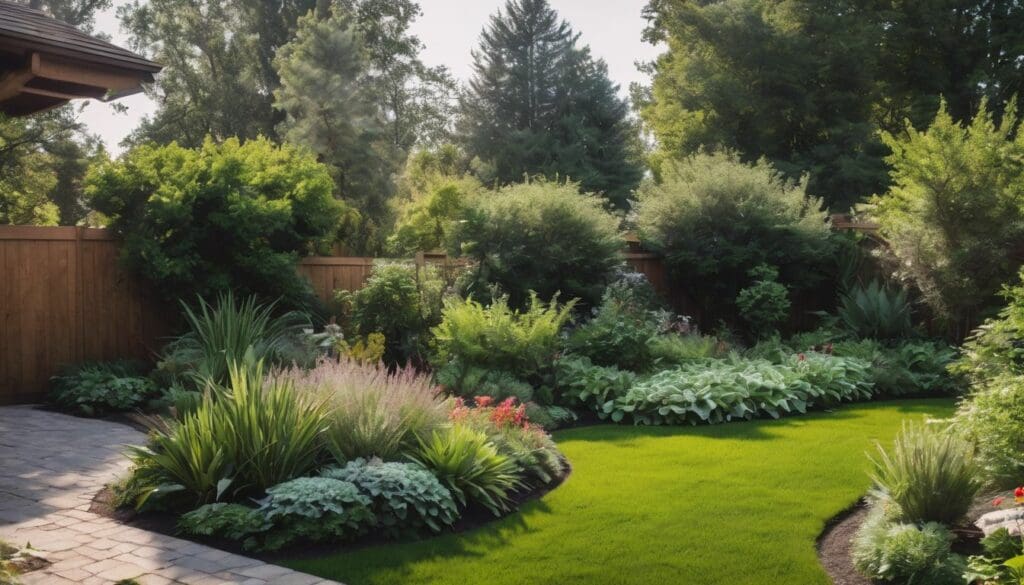
Sketch out a plan for your garden layout. Consider the placement of plants, pathways, and any existing structures. Ensure that you mark areas where you want to install the irrigation system, taking into account the water flow and coverage needed for different plant types.
Use this plan to guide the placement of hoses, drippers, and stakes when setting up your DIY garden irrigation system.
Consider soil type when planning your garden layout for efficient watering. Different soil compositions affect water retention and drainage which will inform how you distribute water through your irrigation system.
Determine soil type
Before proceeding further, it’s crucial to determine the soil type in your garden. This will help you understand how well your soil retains and drains water, which is essential for planning an effective irrigation system.
Using a simple DIY soil test kit or consulting with a local gardening expert can provide insights into whether your soil is sandy, loamy, or clayey. Understanding the soil type will guide you in selecting the most suitable irrigation method and ensuring that your plants receive adequate moisture without overwatering, leading to better conservation of this precious resource.
Knowing the specific characteristics of your garden’s soil allows you to tailor your DIY irrigation system to meet its needs effectively. By understanding how water interacts with different types of soils, you can create a custom watering plan that promotes optimal plant growth while conserving water resources.
Dig trenches
To begin, mark the layout of your garden to plan where trenches will be dug. Then, use a gardening shovel to dig trenches alongside your plants or rows. Ensure that the trenches are deep enough for the hoses and drippers to sit securely.
After digging, add sand at the bottom of the trenches to improve water distribution.
Next, connect the garden hose with drippers along each trench using hose connectors as per your planned layout – ensuring an even flow throughout your garden beds. Finally, cover the hoses with soil and adjust them so they are level with the surface of your garden.
Add sand
After digging the trenches, the next step is to add sand. Fill the bottom of the trench with a layer of sand to help with drainage and prevent clogging. The sand also helps in distributing water more evenly through the soil for better absorption and irrigation efficiency.
Make sure to use coarse sand as it will not compact easily and allows water to flow freely. Avoid using fine sand that could lead to blockages in your irrigation system. Once you have added the sand, you can then proceed with connecting the garden hose and drippers before adding stakes for support.
Connect garden hose and drippers
Insert the hose connector into the garden hose. Screw it tightly to ensure a secure connection. Next, poke holes in the garden hose using a pin, ensuring they match up with each plant or section of your garden.
Then, insert drippers into these holes and fasten them securely.
Now, test the system by turning on the water supply. Check for any leaks or irregular water flow from the drippers. Adjust as needed to ensure proper watering for all plants in your garden.
Add stakes
Stakes are crucial for securing the garden hose and drippers in place. Push the stakes into the ground to ensure that the tubing stays exactly where it’s needed. This helps prevent accidental damage from foot traffic or gardening equipment, keeping your irrigation system running smoothly.
Once the stakes are in place, adjust any tubing as necessary to maintain consistent water flow throughout your garden. By firmly anchoring everything in position, you can be confident that your homemade garden irrigation system will continue supporting your environmentally friendly gardening efforts effectively and efficiently.
Benefits of a DIY Garden Irrigation System
Save time and energy with a DIY garden irrigation system while ensuring better water distribution and controlled watering. Find out more about how to build your own system for a successful garden!
Time and energy saved
By installing a DIY garden irrigation system, you save time and energy. This system waters your garden efficiently without the need for manual watering. With controlled watering, there is no over or under-watering of your plants, saving both water and effort.
The automated nature of the irrigation system means that it operates as needed, leaving you with more time to focus on other aspects of your garden. In addition to this, the improved water distribution from the system eliminates the need for constantly moving hoses or sprinklers around, providing a hassle-free gardening experience while promoting environmental conservation efforts through efficient water usage.
Better water distribution
To ensure better water distribution, place the drippers strategically around the garden. This will help deliver water directly to the root zone of plants, preventing wastage and ensuring efficient use.
Positioning stakes to keep the hoses and drippers in place can also aid in achieving optimal water distribution.
Understanding your garden’s layout and soil type can further enhance water distribution, allowing you to adjust placement if necessary. Monitoring and adjusting as needed will help maintain an even flow of water throughout your garden, promoting healthy plant growth while conserving this vital resource.
Controlled watering
Controlled watering ensures that your garden receives the right amount of water, leading to healthier plants and efficient resource usage. By setting up a DIY garden irrigation system with adjustable drippers, you can tailor the water supply to each plant’s specific needs.
This approach saves water and promotes sustainable gardening practices for environmentally conscious individuals.
Achieve an eco-friendly garden by implementing controlled watering techniques that align with conservation principles. Let’s explore maintenance and tips for a successful garden next.
Maintenance and Tips for a Successful Garden
Regular upkeep is essential to keep the irrigation system working efficiently. Adjust watering as needed based on the weather and plant needs for a successful garden. Add mulch to help retain moisture in the soil and prevent evaporation.
Regular upkeep
To maintain a successful garden irrigation system, it’s vital to regularly check for leaks or clogs in the hoses and drippers. This ensures that water is distributed evenly across your garden, preventing wastage and promoting healthy plant growth.
Additionally, adjusting the watering schedule according to weather changes and plant needs will further optimise the effectiveness of your DIY garden irrigation system.
To ensure that your DIY garden irrigation system continues to function effectively, it’s essential to carry out regular upkeep and adjustments. It helps in sustaining an environmentally friendly approach while providing optimal care for your plants.
Adjusting watering as needed
To maintain a healthy garden, it’s essential to adjust watering as needed. Monitor the moisture levels in the soil and make adjustments based on weather conditions and plant requirements.
If there has been heavy rainfall, reduce irrigation to prevent waterlogging. In hot and dry spells, increase watering frequency to ensure plants receive adequate hydration.
Consider installing a water gauge or using your finger to test soil moisture. Adjust the irrigation system accordingly to avoid overwatering or underwatering which could harm your plants.
Additional tips for gardening success
As an environmentally conscious gardener, consider using organic fertilisers to support the health of your garden and reduce chemical runoff into the environment. Implement companion planting techniques by choosing plant combinations that naturally complement each other, promoting a balanced ecosystem and reducing the need for pesticides.
Regularly monitor your garden for pests and diseases, swiftly addressing any issues to prevent infestations from spreading.
Opt for water-saving practices such as mulching to retain soil moisture, especially during dry spells or hot weather. By incorporating rainwater harvesting systems into your garden irrigation setup, you can further minimise water usage while supporting conservation efforts.
Conclusion
In conclusion, building a DIY garden irrigation system can save time and energy. It allows for better water distribution and controlled watering, leading to healthier plants. With regular upkeep and adjustments as needed, your garden will flourish with the help of this homemade watering system.
Start your DIY journey now to create an efficient and sustainable garden irrigation setup.
FAQs
1. What do I need to create a DIY garden watering system?
To build your own DIY garden irrigation system, you’ll need various irrigation equipment like hoses, sprinkler heads, connectors and pipes designed for water irrigation.
2. How can I set up an irrigation system for raised garden beds?
Setting up a DIY watering system for raised garden beds involves planning the layout of your pipes or hoses to ensure even water distribution throughout the gardening area.
3. Is it possible to make my own homemade garden watering systems?
Yes! With some basic supplies and tools, you can easily assemble a homemade garden watering system that suits the specific needs of your plants.
4. Can I install a sprinkler system as part of my DIY garden watering setup?
Absolutely! A sprinkler system can be incorporated into your DIY garden irrigation ideas to provide efficient coverage and automatic watering capabilities.
5. Are there simple designs for a DIY Garden Irrigation Setup suitable for beginners?
Certainly! There are many DIY garden irrigation setups that are straightforward and easy enough even if you’re doing it yourself without prior experience in building such systems.