Are you wondering what to do with the dark, crumbly gold at the bottom of your compost heap? Each year, a single household can produce nearly 200kg of kitchen waste that can be turned into compost.
This blog will guide you through simple steps to harvest and store this valuable organic resource, ensuring it enriches your garden when needed. Let’s dig in and get our hands dirty!
Key Takeaways
- To harvest compost, wait until it’s dark brown and smells earthy, using a fork to turn the pile and sift out large pieces.
- Properly storing your finished compost can extend its life for months or even years; use covered bins, bury it in the ground, or insulate during winter.
- Winter storage requires insulation with straw or leaves and regular turning to maintain heat and aid decomposition.
- Keep stored compost bags in a cool, dry place off the ground on pallets or shelves to avoid pests and moisture build-up.
- Use finished compost as a natural fertiliser that boosts soil structure, suppresses weeds, fends off diseases and reduces watering needs by retaining more moisture.
Benefits of Using Finished Compost
Using finished compost in your garden brings a wealth of advantages. It infuses the soil with essential nutrients, acting as a natural fertiliser that nourishes plants from root to tip.
Your vegetables and flowers will thrive like never before, bursting with vitality due to the nutrient-rich addition to their growing environment. Furthermore, by integrating organic matter into the earth, you improve its structure and enhance its ability to hold water.
This means less watering on your part and better resistance against drought.
Finished compost teems with beneficial microorganisms that ward off plant diseases and pests. These tiny powerhouses break down organic materials into accessible food for your plants, keeping them robust and healthy.
Moreover, using this wonderful mulch around trees and flower beds suppresses weeds significantly, saving you time spent on weeding while keeping your garden looking pristine. Incorporating this sustainable gardening practice not only gives back to the planet but elevates the quality of your own patch of green gold dramatically.
Harvesting Compost
Knowing when and how to harvest compost is essential for ensuring its quality. Whether it’s traditional compost or worm compost, the process can vary, so it’s important to understand the specific steps required.
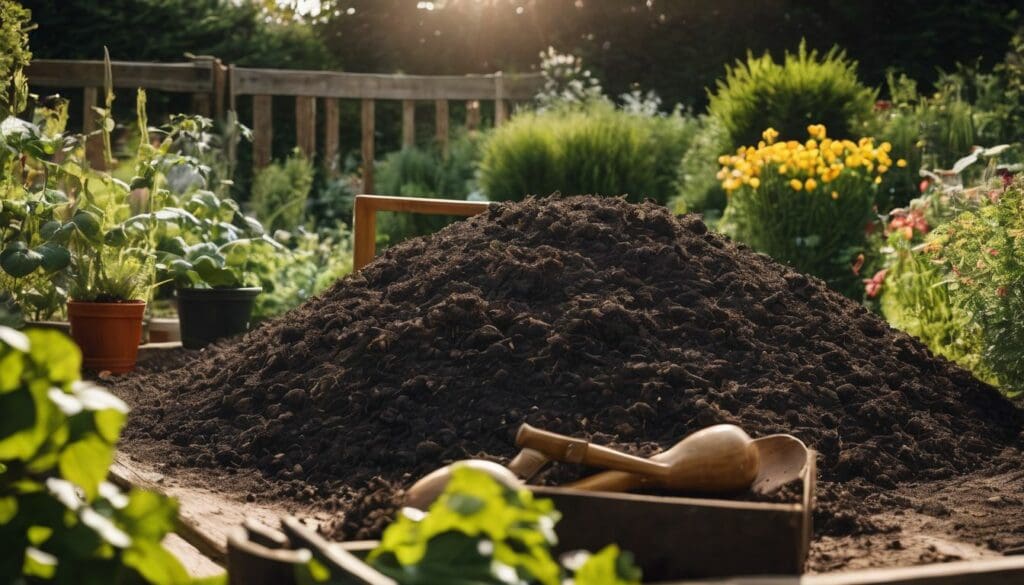
When to Harvest
Harvest finished compost when it is dark brown and crumbly, with an earthy smell. At this stage, the material is ready to be removed from the compost bin or pile. Take into account the original materials used in the composting process; for instance, if a significant portion of the finished product includes leaves or straw, these should be nearly decomposed.
Check for any large recognisable pieces such as eggshells and avocado pits; if still present in noticeable amounts, allow more time for decomposition. Use a garden fork to check on progress at various depths within the pile.
Look out for finished compost at different levels – some parts may need additional time to break down completely.
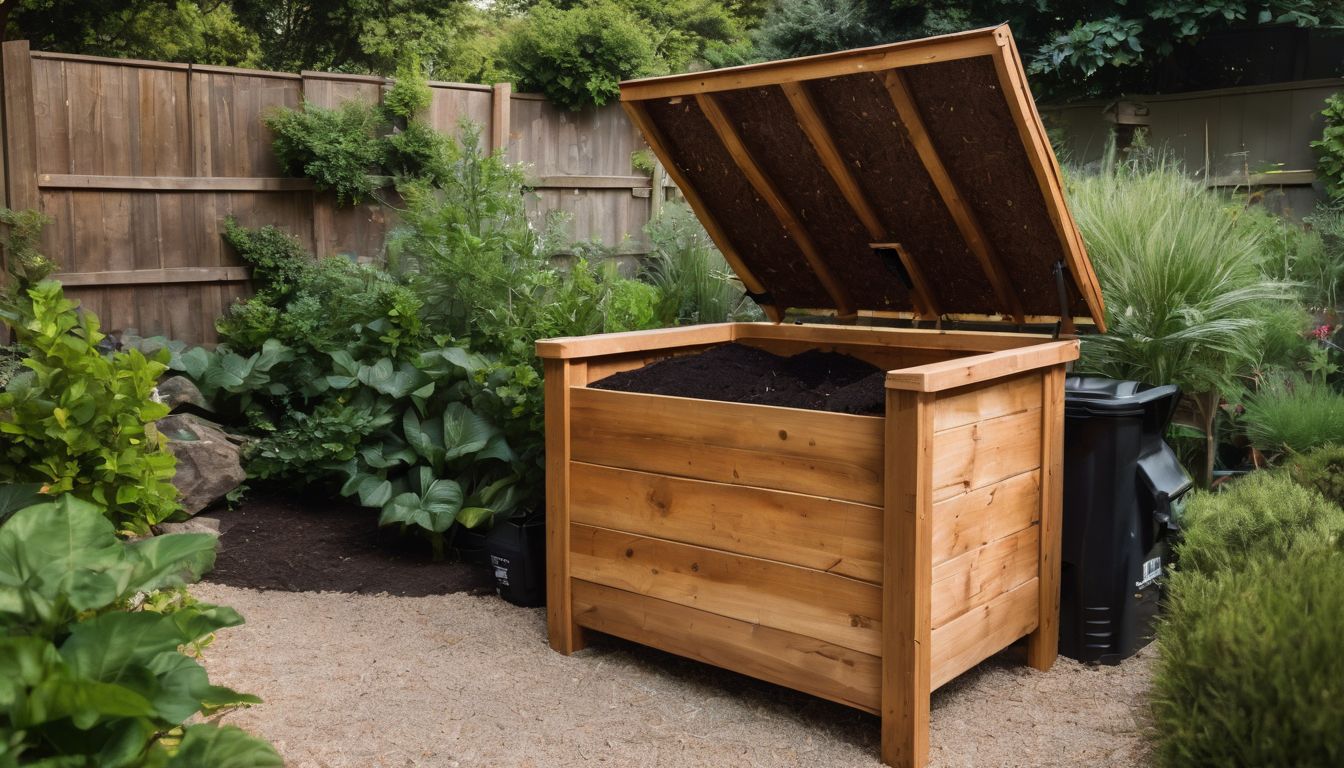
How to Harvest
Once your compost is ready to be harvested, the next step is to carefully gather it for use. Here’s how to harvest the finished compost effectively:
- Use a garden fork or shovel to gently turn and mix the compost pile, bringing the well-decomposed material from the bottom to the top.
- Remove any large debris or undecomposed materials from the mixture, ensuring only nutrient-rich compost remains.
- Consider using a sifting screen to separate any remaining large particles from the finished compost, resulting in a finer texture.
- If you have a worm composting system, encourage the worms to migrate by creating a light-free environment on one side of the bin, prompting them to move towards fresh food and leaving behind their castings – or worm compost.
Harvesting Worm Compost
To harvest worm compost, start by sorting out the larger pieces, including any remaining bedding materials.
- Gently separate the worms from the compost by creating small piles of compost and exposing them to light.
- Once you see the worms moving away from the piles, carefully scoop up the compost without disturbing them further.
- To ensure no worms are left behind, spread the harvested compost in a thin layer with light exposure – this will encourage them to burrow deeper into the pile.
- If there are still some straggler worms after harvesting, pick them out by hand and return them to the original bin or pile.
Storing Compost
After harvesting your finished compost, it’s important to store it properly to preserve its nutrient-rich properties. There are various options for storing compost, including on the ground, in covered trash cans, or buried in the ground.
Read on to discover more about the best ways to store your valuable compost.
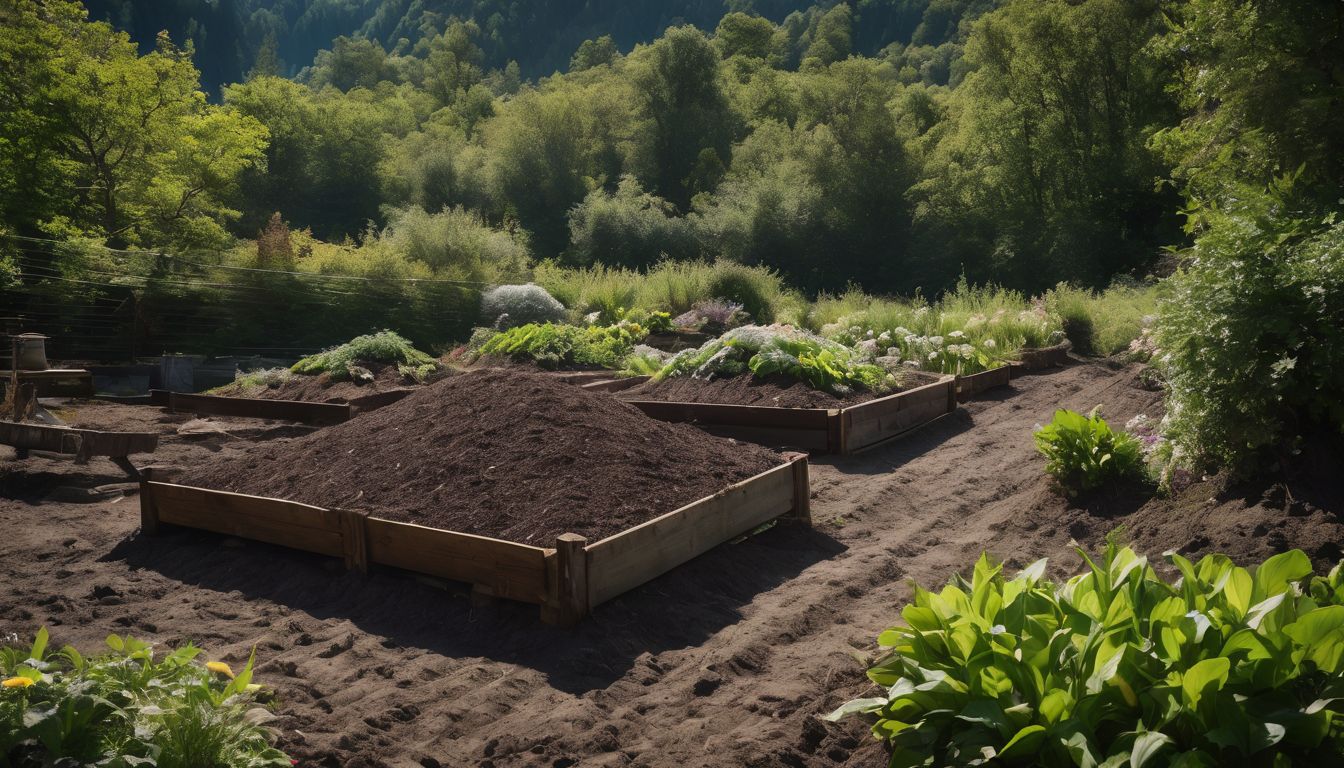
On the Ground
To store finished compost on the ground, simply choose a level, well-draining area. Spread a layer of straw or cardboard to prevent direct contact with the soil and allow airflow. Then, place a tarp or plastic sheet under your compost pile to avoid leaching nutrients into the ground.
Turning the pile occasionally will help aerate and distribute moisture evenly.
For long-term storage directly on the ground, consider using wooden pallets as a base to elevate the compost, preventing it from getting waterlogged during heavy rains. This allows for better air circulation and drainage while keeping pests at bay.
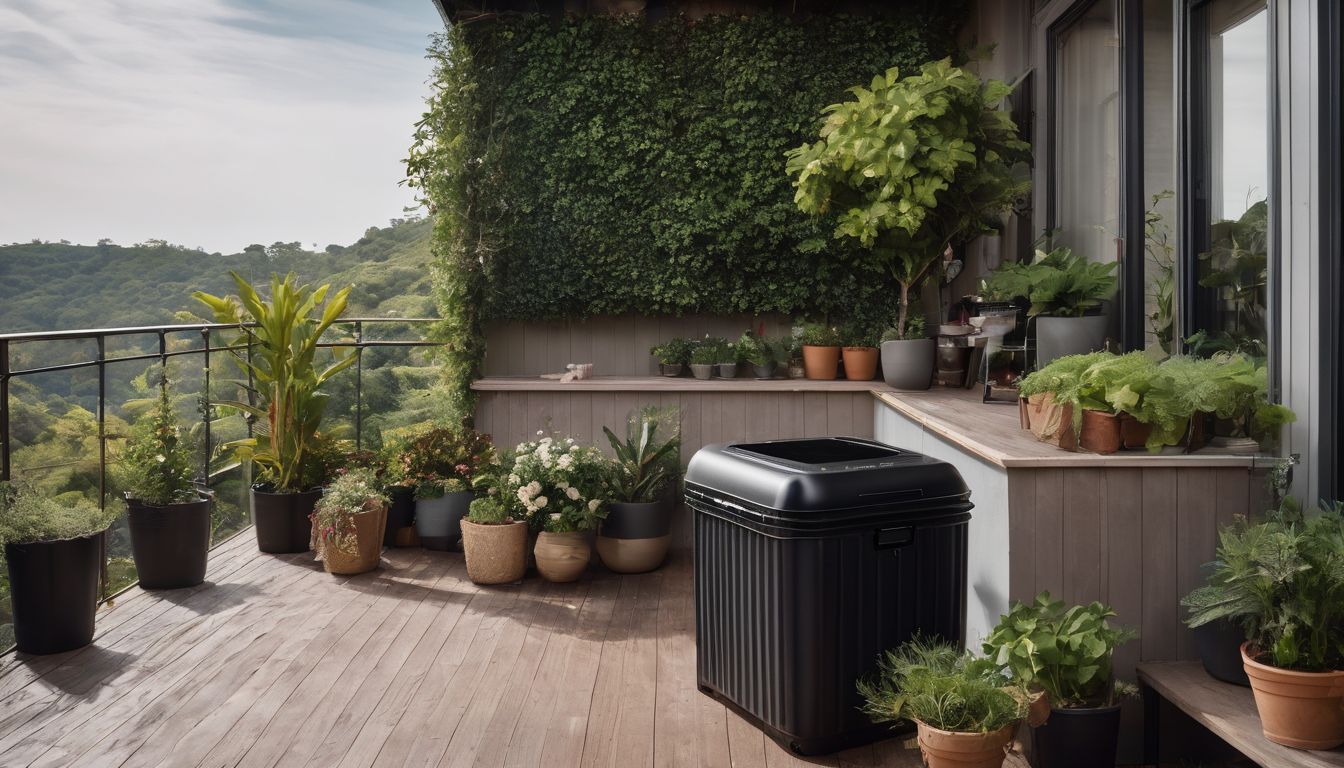
In a Covered Trash Can
To further protect your compost from the elements, consider storing it in a covered trash can. The tight-fitting lid will keep out excess moisture and pests while allowing for proper aeration to continue the composting process.
Make sure to drill some small holes in the bottom and sides of the trash can for ventilation.
When using a covered trash can for compost storage, it’s important to place it on top of bricks or blocks to allow air circulation underneath. This method not only protects your compost but also ensures that you have a ready-to-use supply of nutrient-rich soil amendment whenever you need it.
Buried in the Ground
To further enhance the storage of finished compost, consider burying it in the ground. This method helps to protect the compost from extreme temperatures and excessive moisture, while also allowing beneficial soil organisms to gradually break down the organic matter.
Start by selecting a suitable spot in your garden or yard, and dig a hole deep enough to accommodate the amount of compost you have. Once buried, cover it with a layer of soil to prevent any odors and deter pests.
Over time, nature will take its course as the buried compost enriches the surrounding soil with valuable nutrients.
Tips for Proper Compost Storage
Properly stored compost can last for several months. During the winter, store your compost in a covered area to protect it from the elements. Use airtight containers or bags to keep your finished compost fresh and nutrient-rich.
How Long Does Compost Last?
Finished compost can last for several months to a few years, depending on how it’s stored. In ideal conditions, well-maintained compost can retain its nutrient-rich properties for up to two years.
The key is to store it in a cool, dry place with proper aeration and moisture control. By ensuring that the compost remains unexposed to excessive heat or waterlogging, you can extend its lifespan and make the most of its valuable nutrients.
Compost tends to break down more slowly when stored properly, preserving its organic matter and beneficial microorganisms. This makes it an excellent resource for enriching soil over an extended period while reducing the need for chemical fertilisers.
How to Store Compost in the Winter
- Insulate the compost heap with a thick layer of straw or leaves to protect it from freezing temperatures.
- Use an insulated compost bin or wrap the existing bin with insulating materials to maintain warmth.
- Consider moving the compost bin to a sheltered area, such as a garage or shed, to shield it from extreme cold.
- Avoid adding large amounts of new material during winter to prevent the heap from cooling down too much.
- Turn the compost regularly to aerate and distribute heat, helping to break down materials even in colder weather.
- Cover the top of the heap with a tarpaulin or heavy – duty plastic sheeting to protect it from excessive rain or snow.
How to Store Compost Bags
After learning about how to store compost in the winter, it’s important to know how to properly store compost bags. This can help ensure that the nutrient-rich compost remains viable for use when needed. Here are some tips on how to store compost bags effectively:
- Choose a Suitable Location: Store the compost bags in a cool, dry place away from direct sunlight and extreme temperatures. A shed or garage is an ideal storage location.
- Proper Ventilation: Ensure that the stored compost bags have proper ventilation to prevent moisture build-up, which can lead to mold growth.
- Avoid Pests: Keep the compost bags off the ground and away from potential pests by placing them on pallets or shelves.
- Use Durable Bags: Opt for high-quality, durable compost bags that can withstand storage conditions without tearing or breaking.
- Labeling: Clearly label the compost bags with the date of creation and contents to keep track of their age and type of compost inside.
- Regular Inspection: Periodically check stored compost bags for any signs of moisture buildup or damage, and address any issues promptly.
- Rotation: Use older compost first by rotating the bags based on their creation dates to ensure that nothing goes to waste.
Conclusion
In conclusion, storing finished compost is crucial for maintaining its nutrient-rich qualities. Proper storage methods such as using covered trash cans or burying in the ground help preserve compost for an extended period.
Understanding when to harvest and how to store compost ensures that it remains effective for your gardening needs throughout the year.
FAQs
1. What are some compost storage methods for winter?
There are several compost storage options for winter, including using insulated compost storage containers to protect the nutrient-rich material from freezing.
2. Can I store my finished compost indoors?
Yes, you can keep your finished compost inside using indoor compost storage solutions that manage odours and maintain quality.
3. How do I know when my compost is ready to harvest?
You’ll know your compost is ready when it looks dark and crumbly, smells earthy, and you cannot recognise any original materials; these are signs it’s time to use those helpful harvesting tips.
4. Is there a right way to store my compost outside?
Yes, opt for outdoor compost storage like covered bins or heaps that guard against weather while keeping the goodness of your home-made soil enhancer secure.
5. Will storing my finished compost in containers affect its quality?
Not at all – if you choose the right type of compost storage container with proper ventilation, your stored mix stays just as rich in nutrients as freshly made heaps.