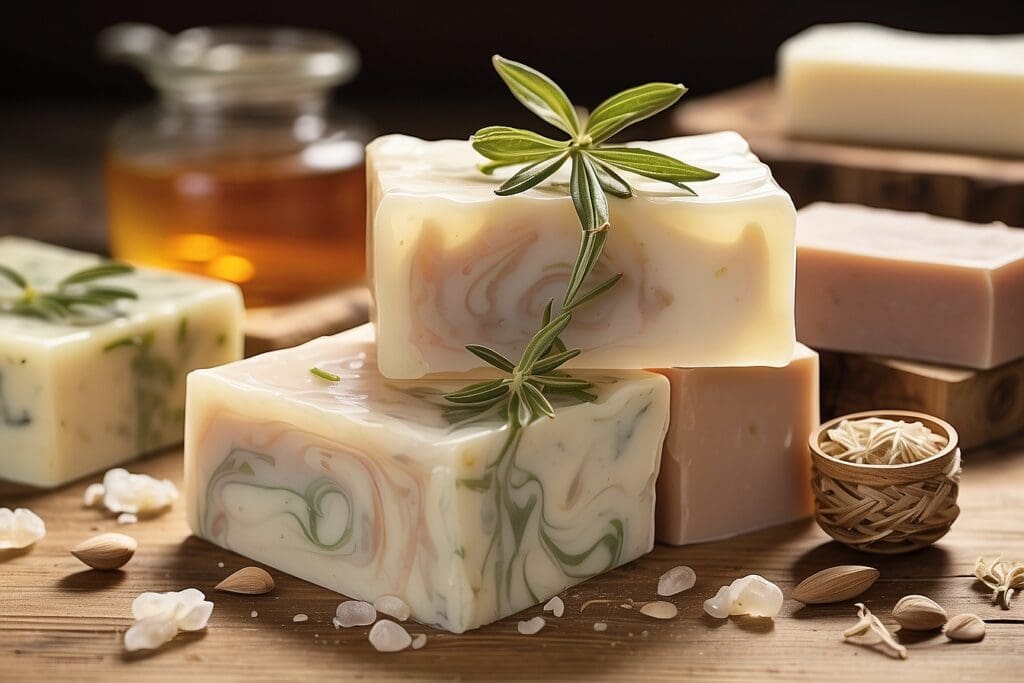
Why bother going through the trouble of making your own soap when you can easily buy soap in the store you ask? Making your own eco-friendly soap is worth it! This guide includes recipes for eco-friendly soap bars and liquid hand soap, as well as a rundown on all the benefits of making your own soap!
BENEFITS FOR THE ENVIRONMENT: Despite all of the safety claims regarding industrial soap, no one really knows what effect the myriad of chemicals will have on the environment. One study by the John Hopkins Bloomberg School of Public Health found that about 75% of the main chemicals in antibacterial soap are passed through wastewater filtering to be later used to fertilize crops. Moreover, some regular shower gels contain ingredients that take 200 to 300 years to biodegrade! For more information on the environmental impacts of soap, check out: Soap and the environment. The good news is that if you make your own soap and choose all natural ingredients with the help of this guide, you can make 100% biodegradable soap!
BENEFITS FOR YOUR HEALTH: Many mass-produced soaps contain a large quantity of synthetic ingredients that could have unhealthy side effects. For example, many synthetic fragrances are suspected to contribute to birth defects, liver damage, and cancer. When making your own soap, you can choose any natural fragrance you like for its aromatherapeutic effects without worrying about the harm of synthetic fragrances. Also, for those of you who are allergic to the harsh chemicals in soap, or for those of you who just have sensitive skin, homemade soap is much more mild on your skin, has naturally moisturizing ingredients, and can be fragrance-free.
BENEFITS FOR ANIMALS: Since you make the soap yourself, you can be sure that you won’t be supporting any animal testing. For more on animal testing: http://www.wordpress-837916-4114959.cloudwaysapps.com/GreeniacsArticles/Animals-and-Testing.html. It is also good to be aware that you don’t necessarily need to use any animal-based materials (like the commonly used tallow mass, which contains beef fat). You can also be certain that potentially hazardous chemicals will not be rinsed into our waterways. An anti-bacterial chemical, Triclosan, commonly used in soaps, is registered with the Environmental Protection Agency as being a pesticide and is believed to destroy fragile aquatic ecosystems. Eco-friendly soaps can benefit every ecosystem!
Cost: Moderately Low
Compared to actual soap, homemade soaps can be quite cost-effective since you can buy many of the materials in bulk.
Time and effort: Moderately High
The process of soap making outlined in this guide is called the “cold process,” which is relatively quick compared to other processes that start from scratch. Cold process soaps require only about an hour or so to take, but about 48 hours to harden and 3-4 weeks to cure. In fact, the longer they are left alone, the better the product. For more soap recipes and ideas, click here.
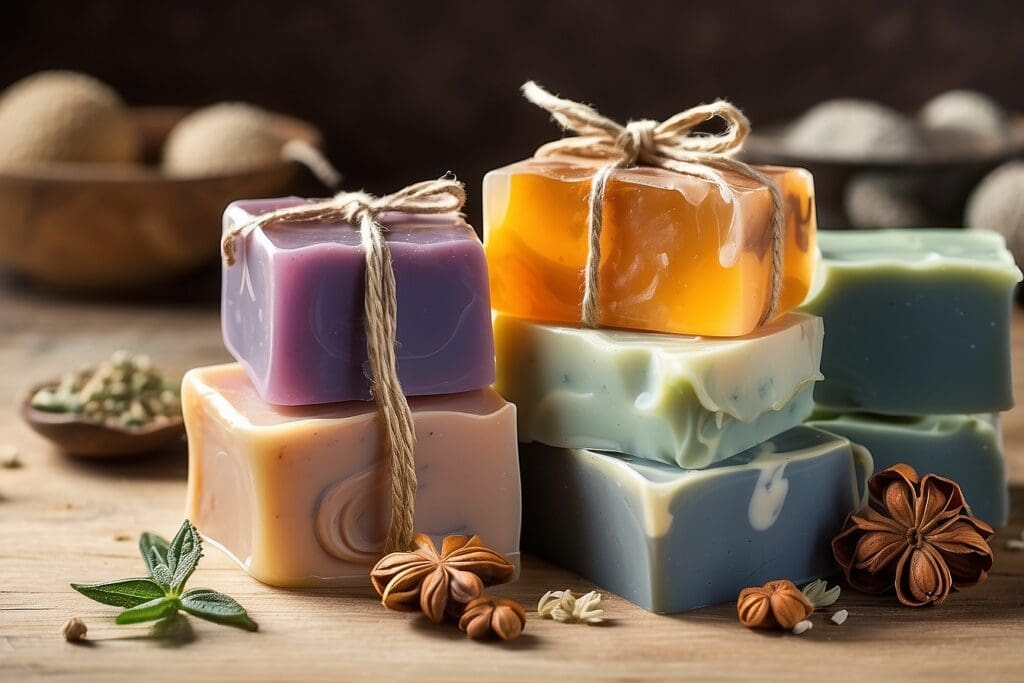
Suitable for Vegetarians and Vegans! This particular recipe is for a coffee scented soap, which is suitable for vegetarians and vegans because it uses all vegetable oils rather than tallow. This is just one of the scents (or scent combinations) you can choose—feel free to experiment with different fragrances! However, before creating your own mixtures, be sure to calculate the exact concentrations of ingredients needed. Too much lye can make your soap overly abrasive, while too little lye can make your soap very oily. This can be done by using one of the many lye calculators easily found online.
INGREDIENTS:
• 8 ounces (227 grams) soybean oil
• 4 ounces (113 grams) coconut oil
• 4 ounces (113 grams) olive oil
• 5 ounces (142 grams) coffee (to be used instead of water)
• 2 ounces (57 grams) lye
Most of the above vegetable oils can be found in regular grocery stores, and there are a variety of websites that sell lye online: http://candleandsoap.about.com/od/coldprocesssoapmaking/a/lyesources.htm.
ADDITIONAL MATERIALS NEEDED:
• Safety goggles or glasses
• Safety gloves
• Small scale
• 2 large measuring cups
• Wooden spoon or hand mixer
• Pan
• Thermometer
• Knife
• Plastic container to use as a mold
• Wax paper
Note: Because lye fumes are hazardous, be sure to work with lye in a well-ventilated area.
INSTRUCTIONS FOR MAKING BARS OF SOAP:
1. Make a cup of coffee and put it into the refrigerator, making sure it cools thoroughly.
2. Pour the appropriate amount of cold coffee into a measuring cup.
3. Put on the safety goggles and safety gloves.
4. Put the measuring cup on the scale and set the scale to zero. This ensures that the scale is only measuring the amount of lye and not the weight of the measuring cup.
5. Pour the lye into the measuring cup until the scale reads the correct amount. Be extremely careful with the lye—do NOT breathe in the fumes!
6. Without letting anything splash, slowly pour the lye into the coffee in the other measuring cup. Absolutely do NOT pour the coffee into the lye!
7. The lye-coffee mixture will be hot, so set it aside temporarily to cool. Check the temperature occasionally with a thermometer, making sure it does not go below 100º F to 110º F.
8. Stir the soybean oil, coconut oil, and olive oil in a pan. Heat the pan on the stove until the oil mixture thermometer temperature reads 100º F to 110º F.
9. When the lye mixture and oil mixture reach the exact same temperature, stop heating the pan.
10. Slowly pour the lye mixture into the oil mixture.
11. Making sure not to let anything splash, stir the solution vigorously.
12. Keep stirring steadily and carefully until the mixture has the texture of honey. If you are using a wooden spoon, this part can take up to an hour. If you use the hand mixer, it can take a matter of minutes. However, be especially careful not to splash the mixture or speed up the process too quickly.
13. Pour the solution into the plastic container mold and put the lid on. Wrap the mold in a blanket or towel to insulate the soap in order to keep it warm. Leave it like this for 48 hours.
14. Unwrap the blanket or towel and take the lid off of the plastic mold. If the solution is still soft, leave the mold with top off for another day. If it has hardened, peel the soap away from the sides and turn the mold over onto wax paper.
15. Run the knife under hot water to heat it, and then dry it with a clean towel.
16. Cut the soap into bars.
17. Leave the soap bars out in the open for 3-4 weeks to let them cure. Although you can start using them after a day or so, curing them allows them to last longer and lather better.
MAKING SOAP BARS IN BULK: If you would like to make more soap bars at one time, you can scale up the recipe by increasing the amount of all of the ingredients while keeping the same ratio. The measuring cups should then be replaced with pitchers, and the pan should be replaced with a large boiling pot.
INSTRUCTIONS FOR MAKING LIQUID HAND SOAP: If you want to make some liquid hand soap out of the natural soap you just made, all you need is a bar of your homemade soap and some distilled water.
1. Grate, slice, or chop up a 3 oz piece of soap into pieces as small as you can. The smaller the pieces, the less time is needed to melt it down.
2. Boil 3 cups of distilled water. Keep some more water on hand. If the mixture is too thick, add water until you get the thickness you want.1
3. If you want to make your soap smell more herbal, boil the water with some herbal tea bags to make essentially a large pot of tea. Be sure to take the tea bags out once you’ve made the tea.
4. After the water or tea has come to a boil, pour the pieces of soap into the pot. Mix the water with the soap.
5. Turn off the stove2 or let the mixture simmer in the pot for about 15 minutes.3
6. The soap should now be partially blended into the water or tea. Using a cooking utensil or hand mixer, stir through any chunks of soap until it completely melts into the solution.
7. Let the solution set and cool overnight. If the solution is too thick, heat up the solution again and mix in some more water. Remember that the solution becomes thicker as it cools, so overcompensate a little.4
8. Let the liquid soap cool again for 10 more minutes and stir it. If it’s still too thick, repeat step number 7. If it’s just right, it’s done! Just pour the liquid hand soap into a reusable soap pump and place it near the sink.5When you wash your hands, you can go green and be clean!

