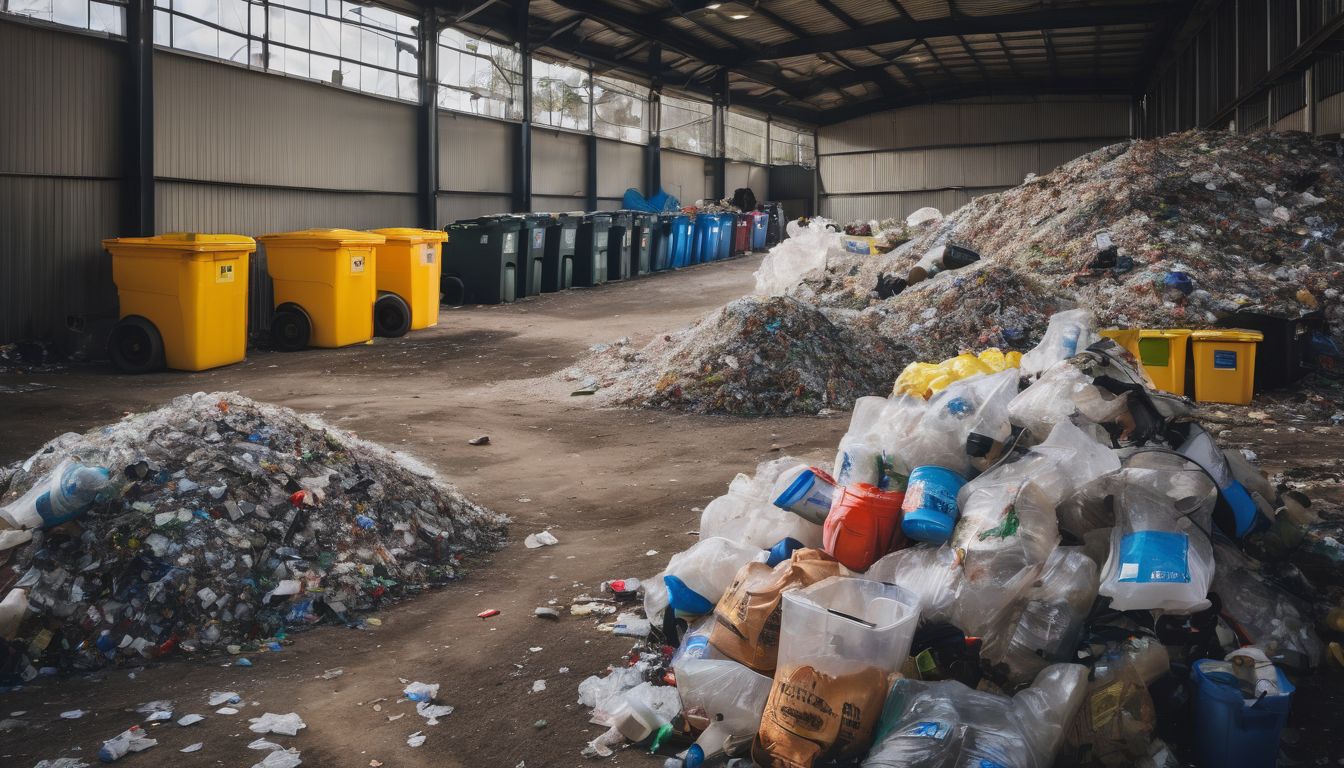
As the old saying goes: reduce, reuse, and recycle! And in that order too. Newspaper makes up the majority of the space in my recycling bin, and last week as I carried all that newspaper out to the recycling center, I realized that I should try to figure out a way to reuse it. Here are a few ways to get the most out of the paper you already have in practical and crafty ways!
BENEFITS FOR THE ENVIRONMENT: Paper piles up fast in most homes and offices. Indeed, the average American consumes 750 pounds of paper every year!1 It takes much less fuel to make new paper from old paper than it does to produce new paper from raw materials. You can save trees by recycling, and save even more by reusing.
Cost: Low. Used newspapers are free and abundant. Even if you don’t subscribe to a newspaper, you can ask friends and neighbors to save theirs for you, or you can find leftovers at coffee shops, universities, and free weeklies.
Time and effort: Varies. Low to medium, depending on the chosen project.
The Obvious Uses for Used Newspaper:
- Wad it up and use it as packing material.
- Wrap fragile items for packing/storing.
- Use crumpled newspaper to clean windows, glass tabletops, and mirrors along with your cleaning spray of course ☺ Newspapers don’t leave streaks and are less likely to dissolve during use than paper towels.2
- Use the comics or foreign newspapers to cover textbooks.
- Use as wrapping paper. Personalize it with colored pencils, crayons, markers, paint, ribbon, and a handmade card.
Creative Uses for Newspaper:
- To prevent weed growth you can clear an area in your garden, lay several sheets of newspaper down, and spread mulch and woodchips on top.
- Seedling cups. Another gardening trick is to use newspapers as a biodegradable seedling starter. The best tutorial I have found for doing so is found here.
- Use an average-sized sheet of newspaper
- Fold the newspaper in half hamburger style, fold it in half again, and then fold it in half one more time, creating a rectangle.
- Lay the rectangle so that it is longer rather than taller, and fold in the two top corners to make a triangle.
- Fold the two triangle sides into the middle, and then fold them in again.
- Fold over the flaps, and then separate the newspaper to form a box. You can watch a step-by-step video 3
- Paper Mache. To make a Paper Mache creation, all you need is newspaper, a balloon (or other mold), flour, and water.
- First make some paste.4
- Mixing 1 part flour to 2 parts water will do the trick.
- Mix well to eliminate any flour lumps.
- The amount of paste you need will depend on the size of your mold.
- Next, tear your newspaper into approximately 1 inch wide strips.
- Blow up a balloon, or create a mold of your own using cardboard, chicken wire, or other materials.
- Finally, dunk your strips in the paste and affix to your mold.
- After dunking each piece, squeeze off excess liquid to avoid using too much paste.
- Smooth down strips one on top of the other until they are overlapped and no mold is showing through.
- Add extra layers for added stability.
- Add a little paint, and viola! You have a new mask, bowl, or sculpture.
- First make some paste.4
- Make beads! If you like to make jewelry or decorative garlands, this project is for you.5
- Cut out between 10 and 15 identical symmetrical pieces of paper. If you are making jewelry, make the cutouts no larger than the size of a bottle cap.
- Glue all pieces back to back, as shown in the picture below.
- String together by feeding a string through the center of the bead. And voila, new jewelry to spice up your wardrobe!
 6
6
- Store your trash. If you have a lot of patience and even more mod podge, you can turn your trash into trash storage. The trashcan pictured was made from magazines, but it could easily be constructed from mod podge-reinforced newspaper and some hot glue.
- Start with the bottom of the can.
- Cut and fold strips of newspaper. Wind the strips outward until you base is the desired width, hot gluing periodically to make sure that the whole thing doesn’t unwind.
- Cut more strips, fold, and make them into wound rings of different sizes.
- Mod podge each circle to make sure it stays together and to keep the trashcan from getting ruined if anything soggy is thrown away.
- Hot glue all of the rings to the base until the sides are your desired height.
- Remember to reuse before throwing anything into your beautiful new creation!
 7
7
- Start with the bottom of the can.


